This page is part of the documentation for Sozi 13. Follow this link if you are using a more recent version of Sozi.
This tutorial will introduce the basic features of Sozi. You will learn how to create frames and play the presentation in a web browser.
Download and open the example document
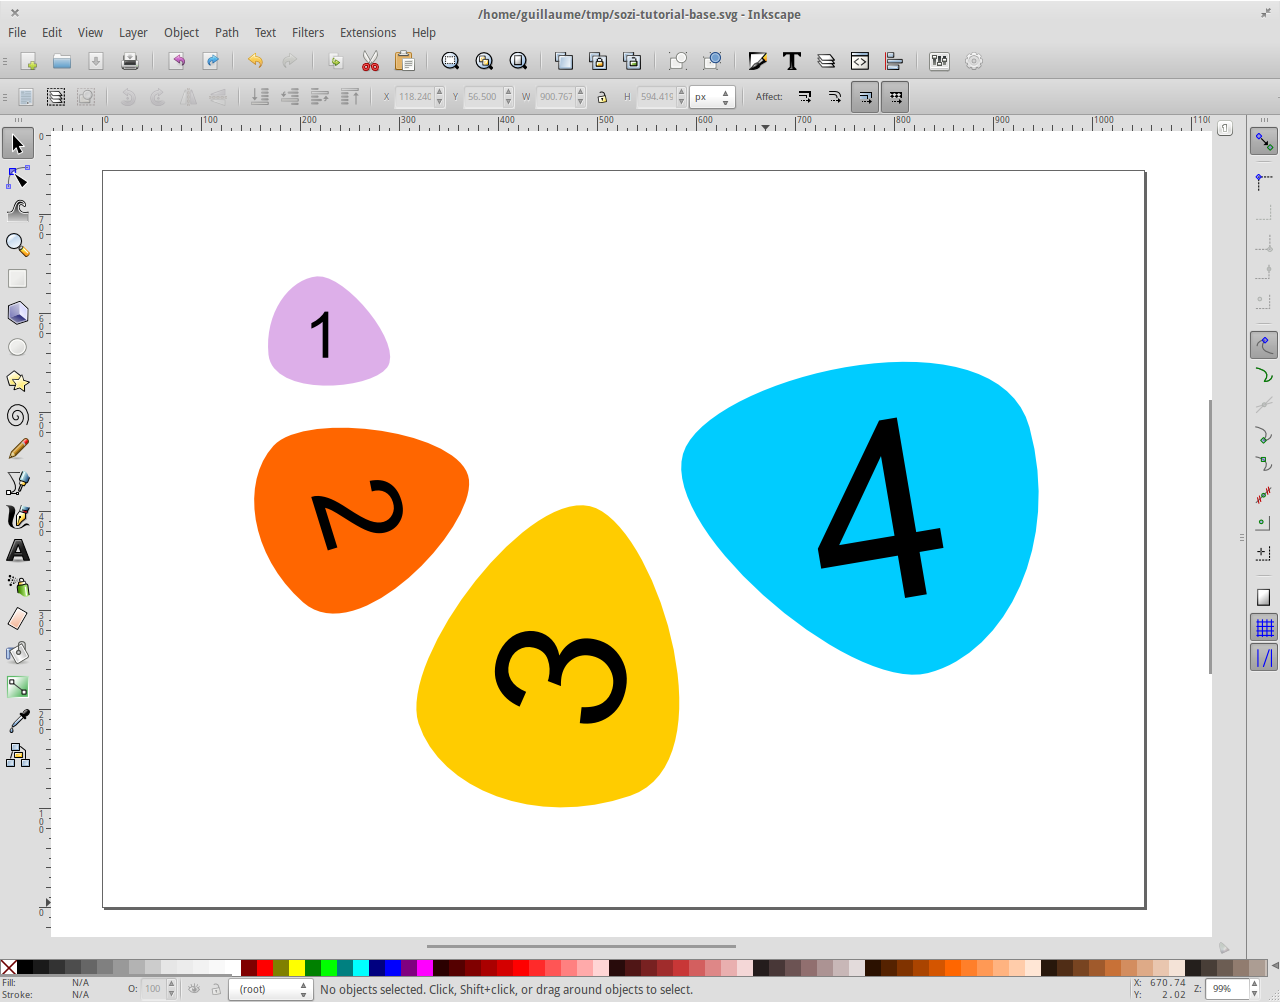
This tutorial is based on a plain SVG document that contains the visual elements of our presentation. Download the base SVG document (right-click on the link and choose Save link target as) and open it in Inkscape.
Draw the frame boundaries
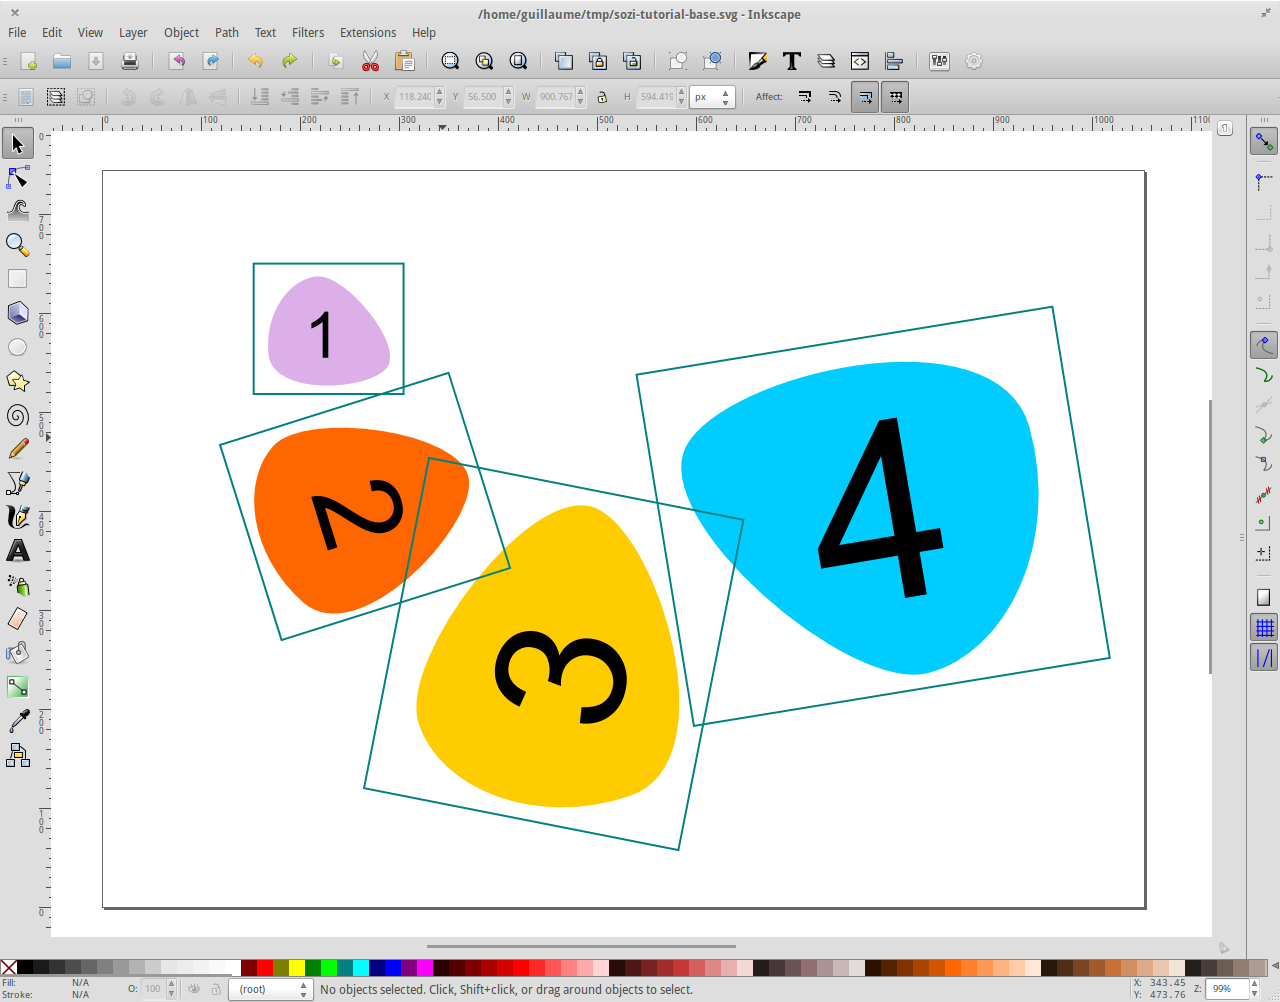
Draw a rectangle for each frame of your presentation. Scale or rotate it to define the boundaries of each frame.
Inkscape assigns a unique identifier to each element of a document. These identifiers will be used by Sozi to associate the rectangles to the frames of your presentation.
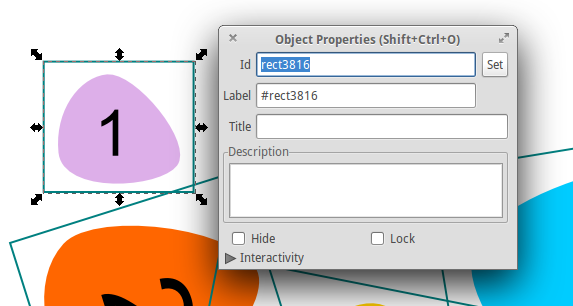
Select a rectangle, right-click on its bounding box and choose Object properties.

The identifier of the rectangle is displayed in the Id field.
In the example below, it is set to rect3816, but it is likely to be different for you.
You can change the Id if you want, provided you do not give the same Id to different elements in the same document.
Open the frame editor
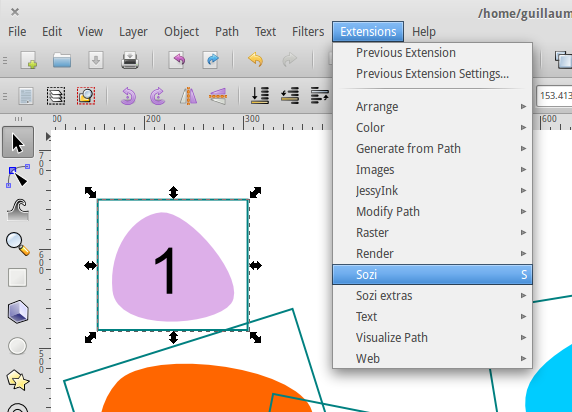
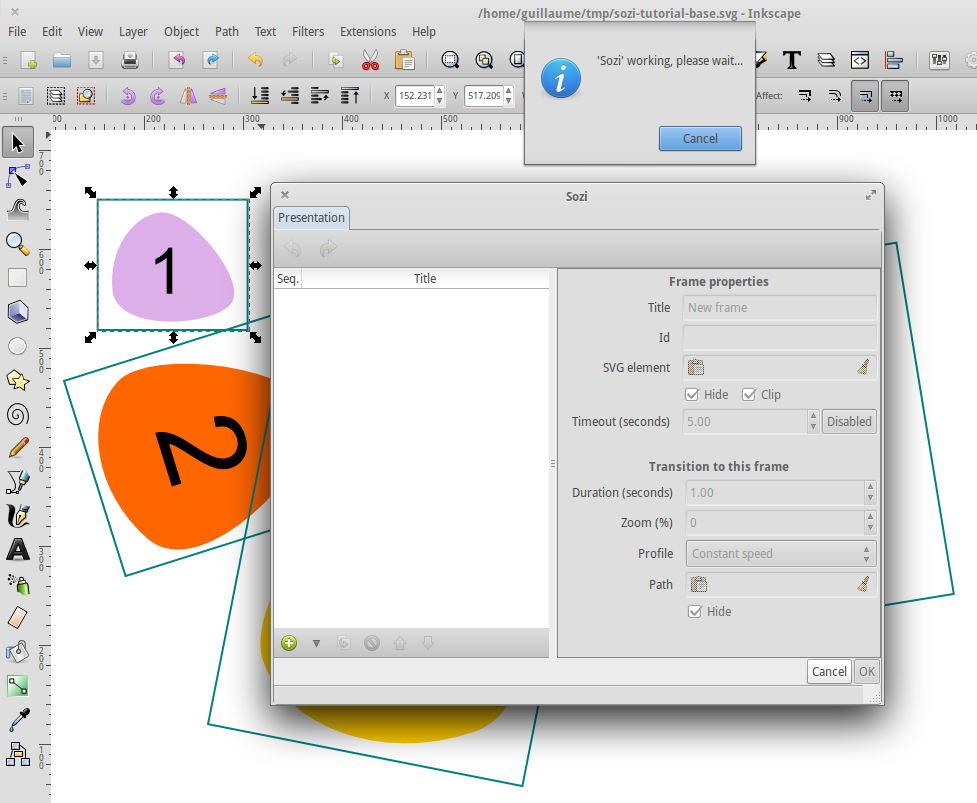
Select the first rectangle. Then, in the Extensions menu, launch Sozi (See also: Launching Sozi with a keyboard shortcut in Inkscape).
The Sozi window allows to create, modify and delete frames in your presentation. The main window of Inkscape will not respond until the presentation editor is closed.
When you start Sozi with a new document, the Sozi player will be automatically installed into the document. Later, each time you reopen Sozi with the same document, the player will be updated using the latest version installed on your computer.
Add frames and edit their properties
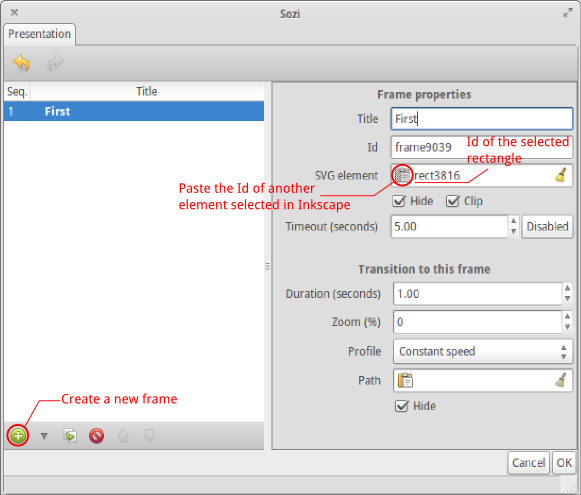
Click on the + button at the bottom left of the window. This will create a new untitled frame. In the screenshot below, we have changed the frame title to First.
Notice that the field SVG element has been automatically filled with the Id of the selected rectangle
(rect3816 in our example).
If you want to change the SVG element attached to a given frame, you can edit the SVG element field manually or,
after selecting another rectangle in Inkscape, use the Paste icon on the left.
The Id field must contain a unique identifier for the current frame. A frame cannot have the same Id as another frame or an SVG element in the same document. Particularly, it is an error to give the same Id to a frame and to its corresponding SVG element.
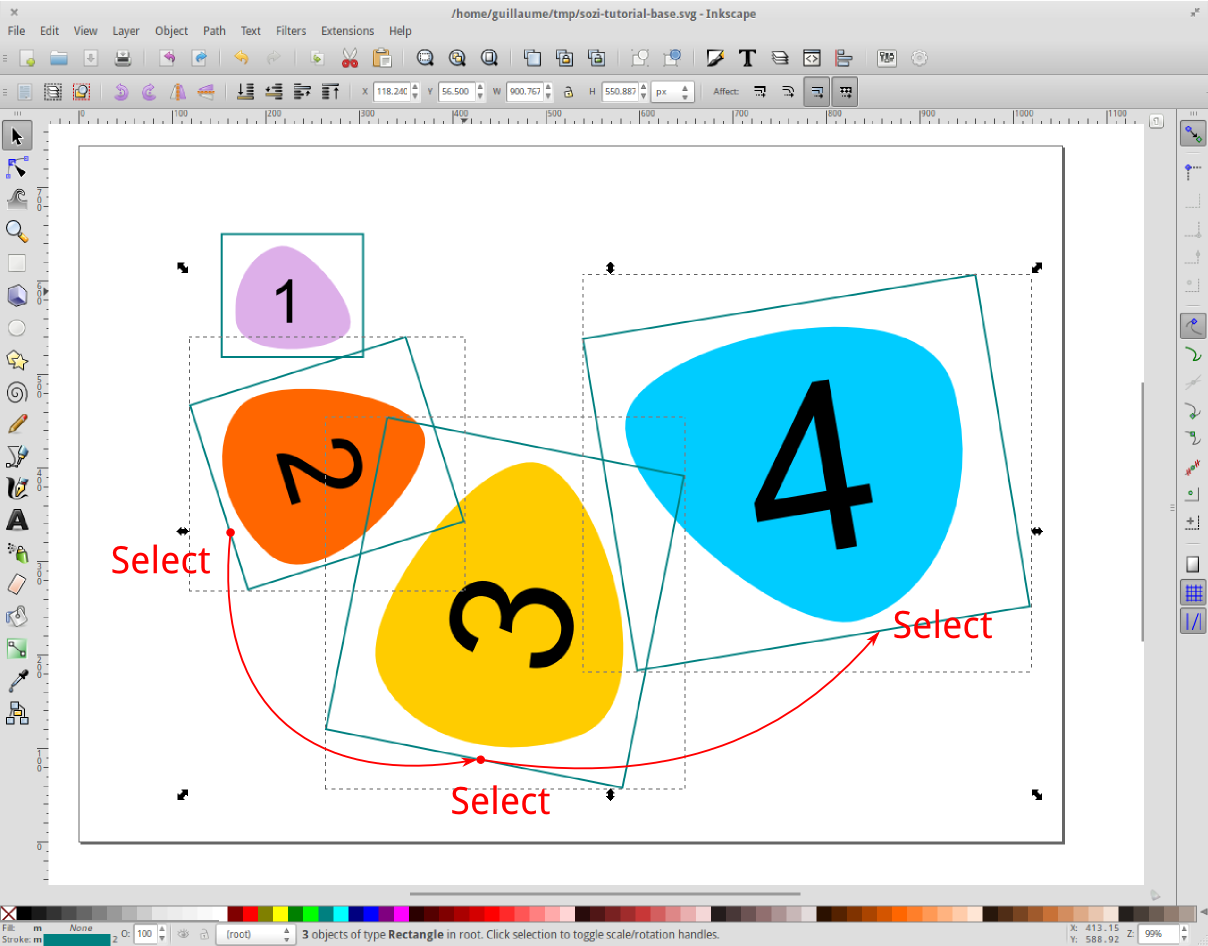
Close the presentation editor using the OK button. In the main window of Inkscape, select the other three rectangles (holding the Shift key), following the order of the presentation.
Open the presentation editor again, and press the + button three times. It will create three new frames using the three selected rectangles.
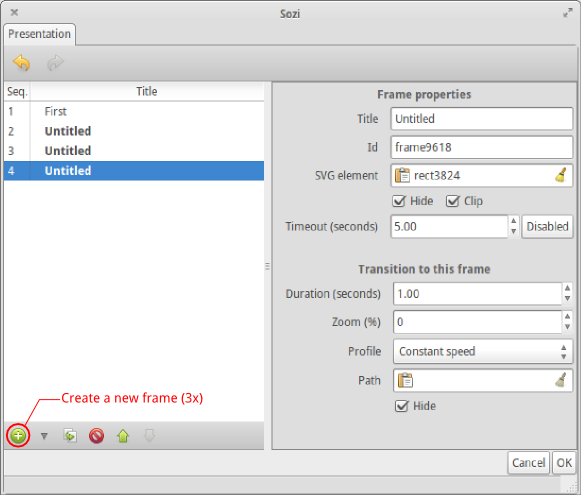
Give a title to each frame and close the presentation editor.
Play the presentation in a web browser
Save the document in Inkscape.
Open the SVG document with your favorite web browser. It will automatically focus on the first frame. Click inside the browser window to move to the next frame (See also: Playing a presentation).