A Sozi presentation can be organized in one or more layers that move independently. A typical use of layers is to add a fixed background to your frames, but there are many other possibilities. With some work and ingeniosity, you can make sophisticated animations. But remember: since the primary goal of Sozi is to make presentations, it will not provide all the facilities that you would expect from a general-purpose animation editor.
Download and open the base document
This tutorial is based on an SVG document that contains the drawing elements of our presentation. Download the base SVG document (Right-click on the link and choose Save link target as).
This SVG document has been created with Inkscape. We recommend to install Inkscape before proceeding. Before starting creating the presentation, we will have a look at the organization of the graphics.
Open tutorial-layers.svg in Inkscape.

Layer organization
Inkscape allows to organize a document in layers. You can open the layers panel by clicking on the View layers button in the toolbar, or by choosing Layers… item from the Layer menu.
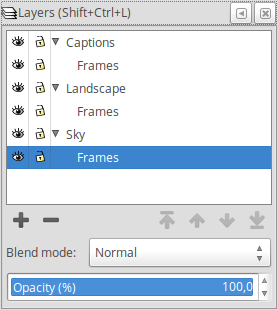
In this example, the document contains three layers:
- Captions: the foreground layer with text elements.
- Landscape: the intermediate layer contains a drawing of a tree.
- Sky: the background layer contains a big blue circle with sun, moon and stars.
Each layer has a sublayer named Frames. These sublayers contain rectangles that will help align the graphics when creating the Sozi presentation.
You can show or hide a layer by clicking on the corresponding "eye" icon in the Layers dialog. Try showing and hiding each layer and sublayer to identify which elements belong to which layer.
Make sure that all layers are visible before proceeding to the next section.
Create the frames of the presentation
Open tutorial-layers.svg in the Sozi presentation editor.
Create four frames using the + button in the timeline pane. For each frame, fill the Title field with the following titles:
- "Morning",
- "Noon",
- "Evening",
- "Night".
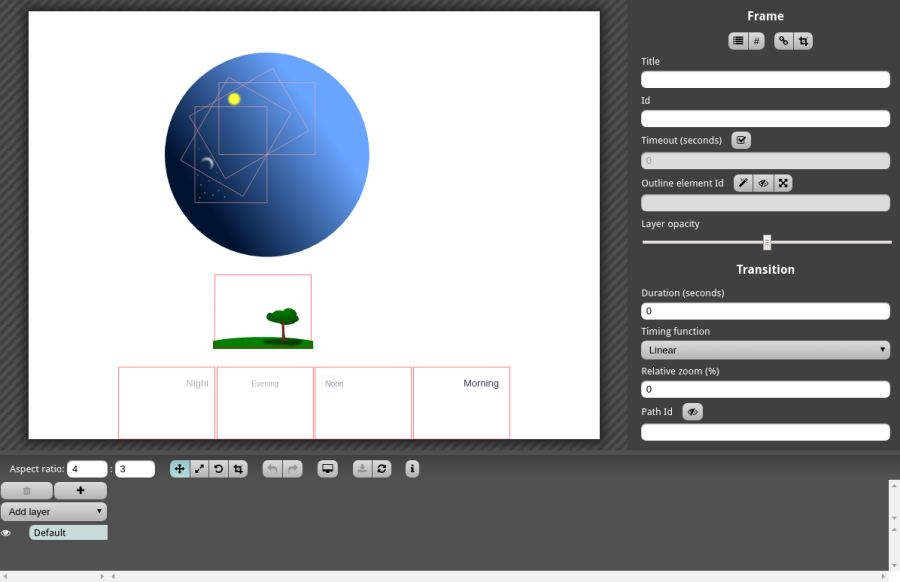
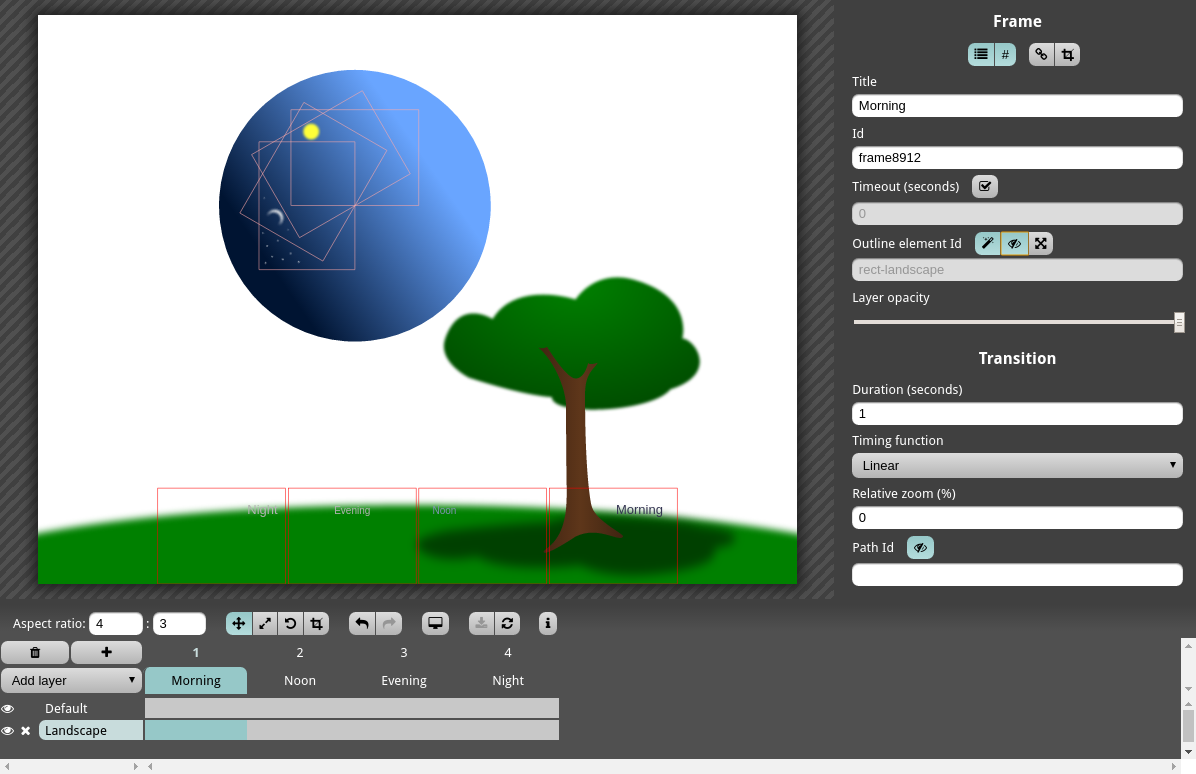
The timeline should look like this:

Add a fixed layer (Landscape)
Press the Add layer button and choose Landscape. In the timeline, select the cell that corresponds to the first frame and the Landscape layer as shown below.

In the preview area, zoom in (mouse wheel) and move the Landscape layer until the rectangle containing the tree almost fills the area. Make sure that only the elements from the Landcape layer are affected.
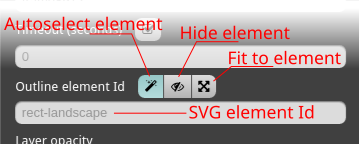
In the properties pane on the right, the field Outline element Id should read "rect-landscape". This is the SVG identifier of the big red rectangle that encloses the drawing of the tree. Since the Autoselect element button is active, Sozi automatically proposes this rectangle as a candidate to be used as an outline for the current frame.
- Press the Fit to element button on the right: now the Landscape layer has been adjusted so that the rectangle fills the preview area.
- Press the Hide element button to hide the rectangle.
We want to hide the elements outside this rectangle when playing the presentation, particularly if the web browser window has a different aspect ratio. At the top right of the properties pane, press the Clip button.
We have set up a layer that will not move during the presentation. Now let us create an animated layer.
Add an animated layer (Captions)
Press the Add layer button and choose Captions. In the timeline, select the cell that corresponds to the first frame and the Captions layer as shown below.

In the preview area, zoom in (mouse wheel) and move the Captions layer until the rectangle containing the text "Morning" almost fills the area. Make sure that only the elements from the Captions layer are affected.
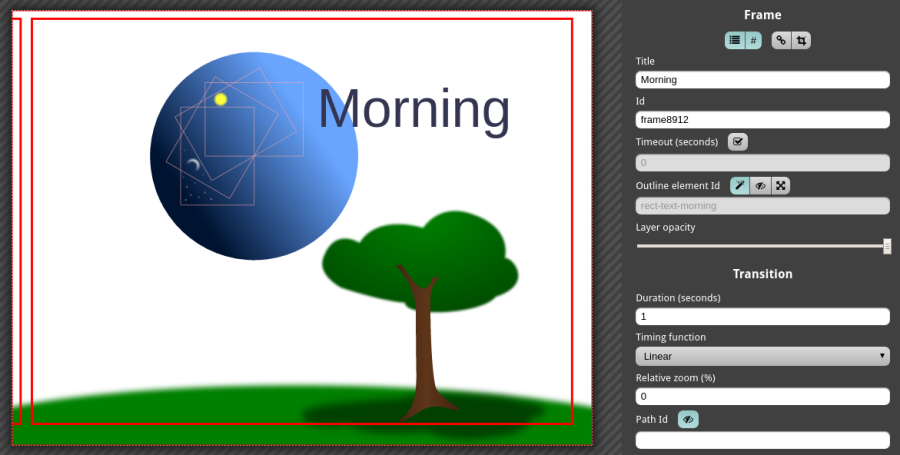
The field Outline element Id should read "rect-text-morning". Press the Fit to element, Hide element and Clip buttons.
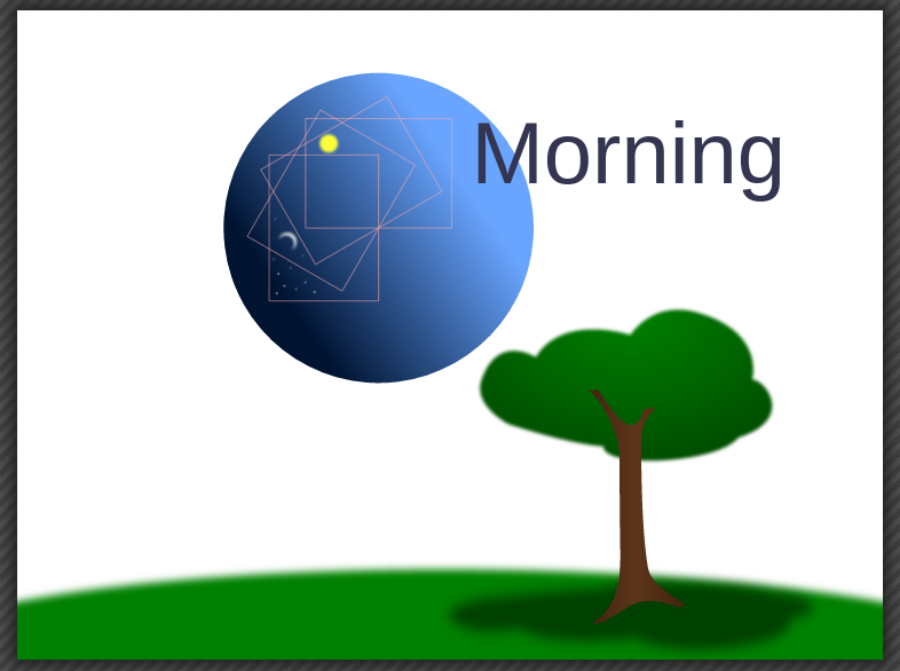
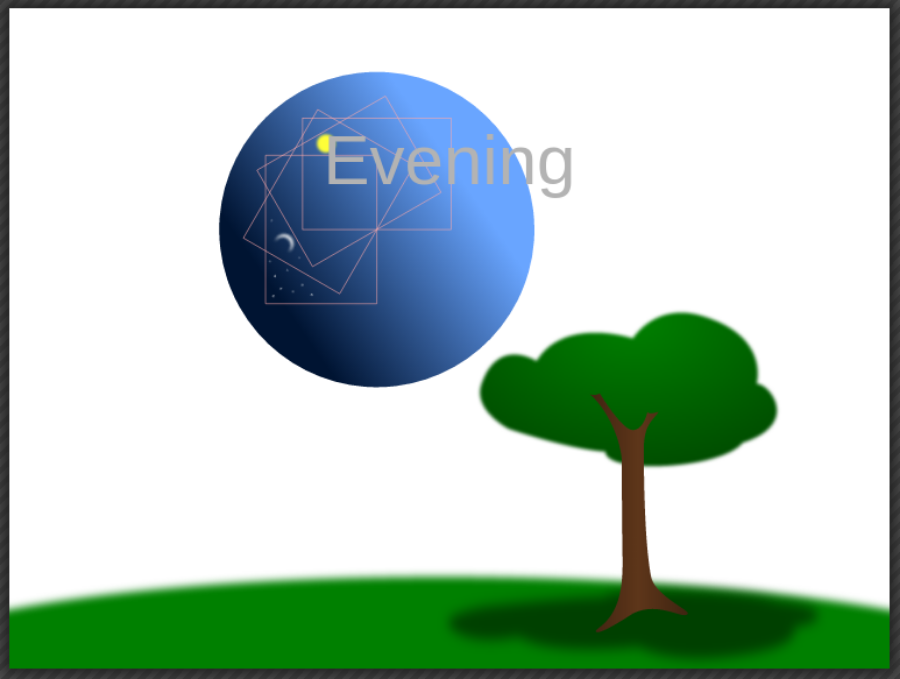
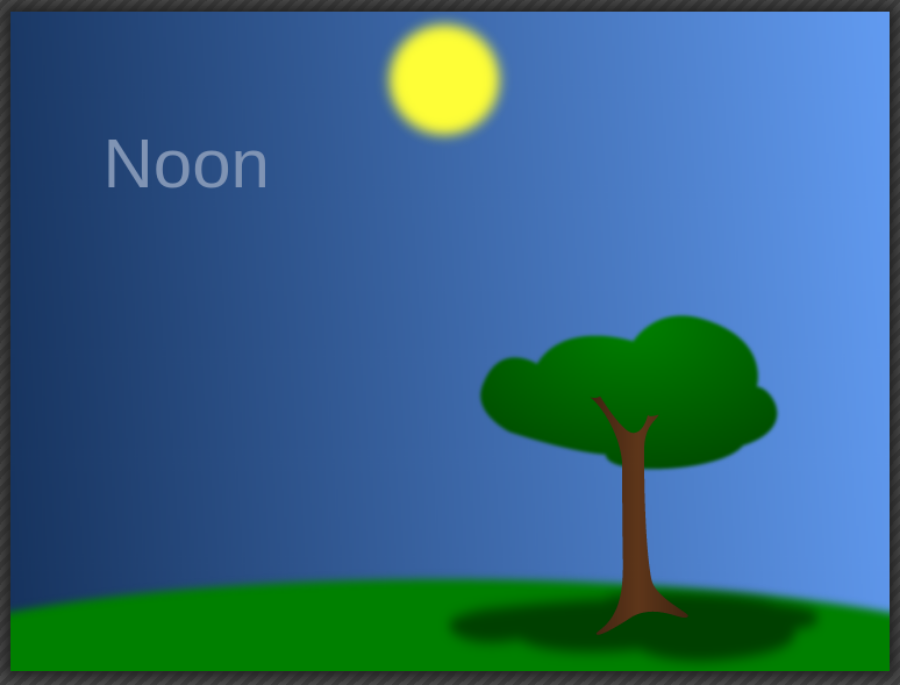
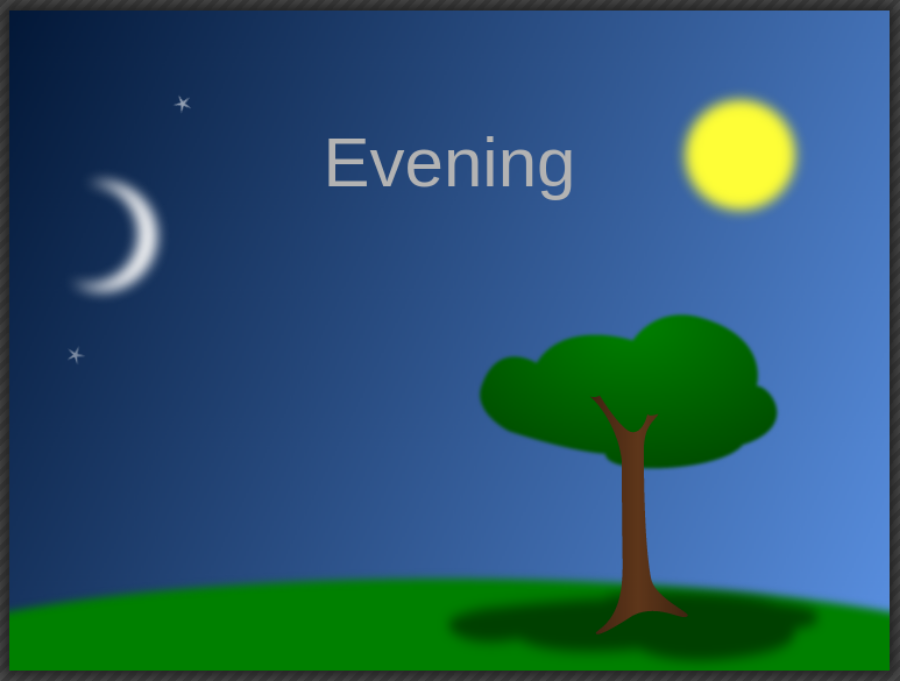
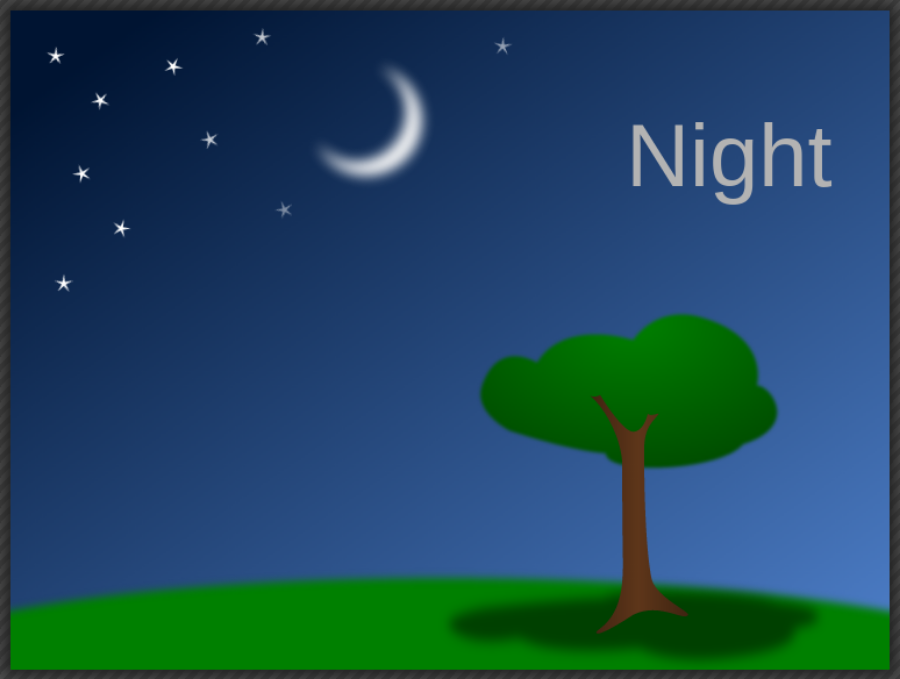
Apply the same process to the frames "Noon", "Evening" and "Night". The preview area for each frame should look like this:
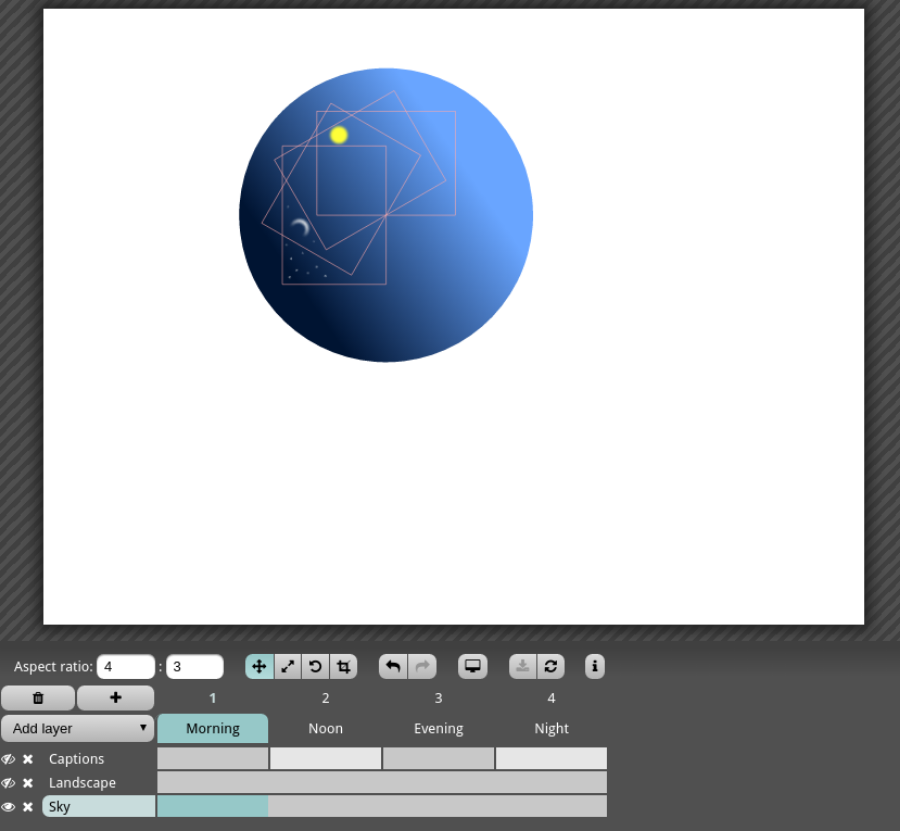
Add an animated layer (Sky)
At this stage, all the graphics that do not belong to the Landscape or Captions layers are represented by the Default row of the timeline. Generally, Default is not really a layer: it groups all layers that have not been added to the timeline and all the elements that do not belong to a layer (you should take care to avoid this, but it can happen). If you add a new layer to the SVG document in Inkscape, it will fall automatically into the Default category in Sozi.
Press the Add layer button and choose Sky. The Default row should disappear.
For convenience, we will hide layers Landscape and Captions. Click on the "eye" icons on the left in the rows corresponding to these layers.
The "eye" icon allows to hide a layer in the editor while you work on other layers. The hidden layers are still visible when playing the presentation.
If you want to hide a layer when playing the presentation, set the field Layer opacity to zero.
Proceed like you did for the Captions layer. For each frame:
- In the Sky row of the timeline, select the cell that corresponds to the frame you want to edit.
- In the preview area, zoom (mouse wheel), move, and rotate (Shift + mouse wheel) the layer until the desired rectangle almost fills the area.
- Check the field Outline element Id, then press the Fit to element, Hide element and Clip buttons.
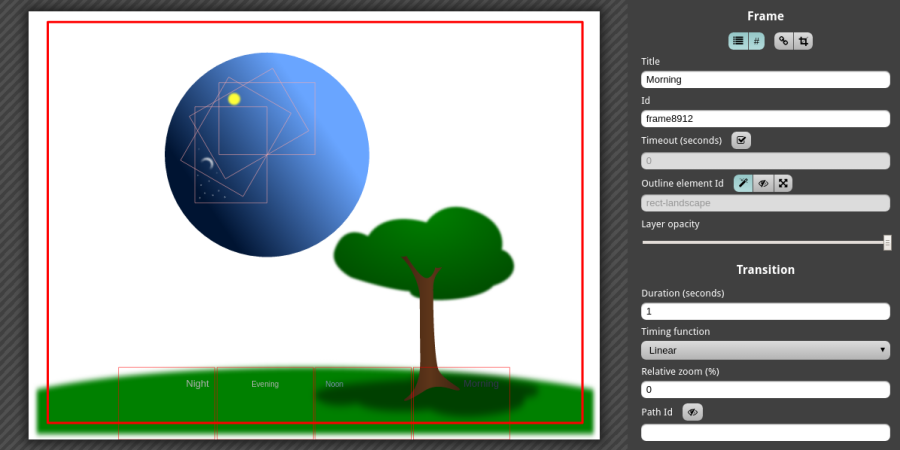
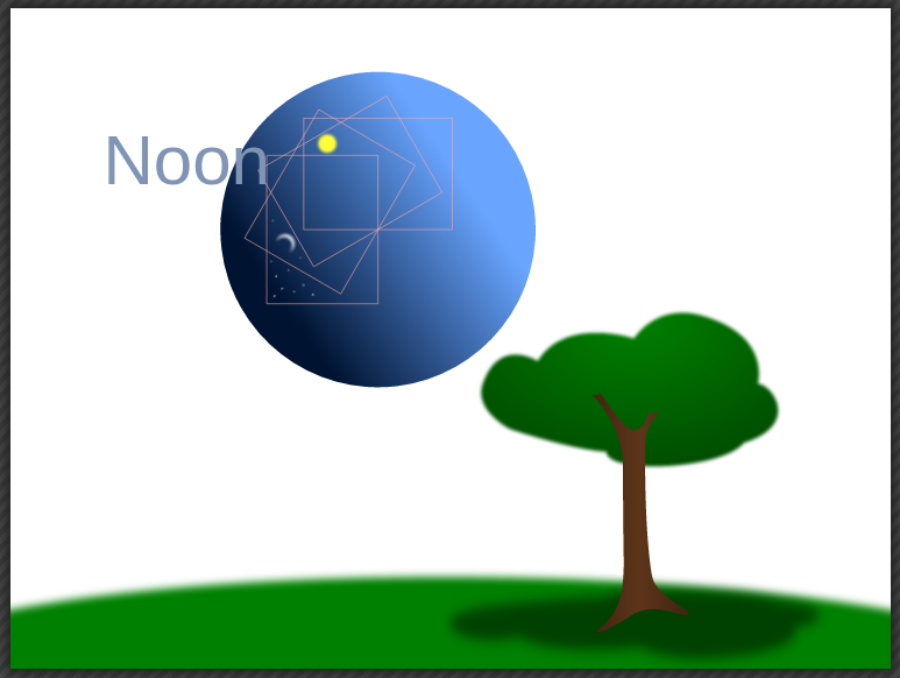
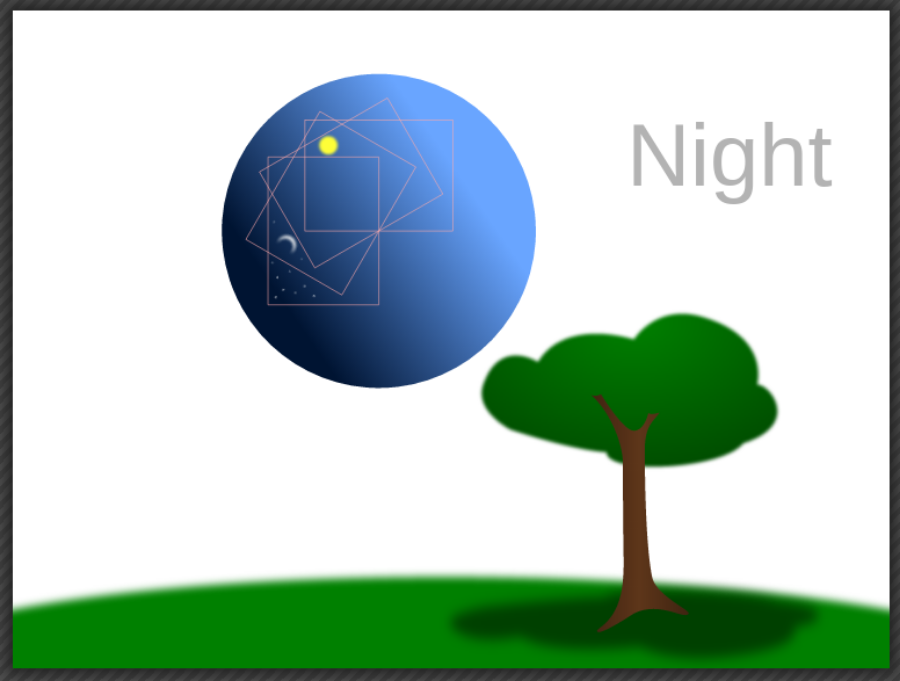
Show the Landscape and Captions layers again. The preview area should look like this:
Save and play the presentation
The editor should save your presentation automatically. If it does not, you can still press the Save button in the tool bar.
Open the file tutorial-layers.sozi.html in a web browser.
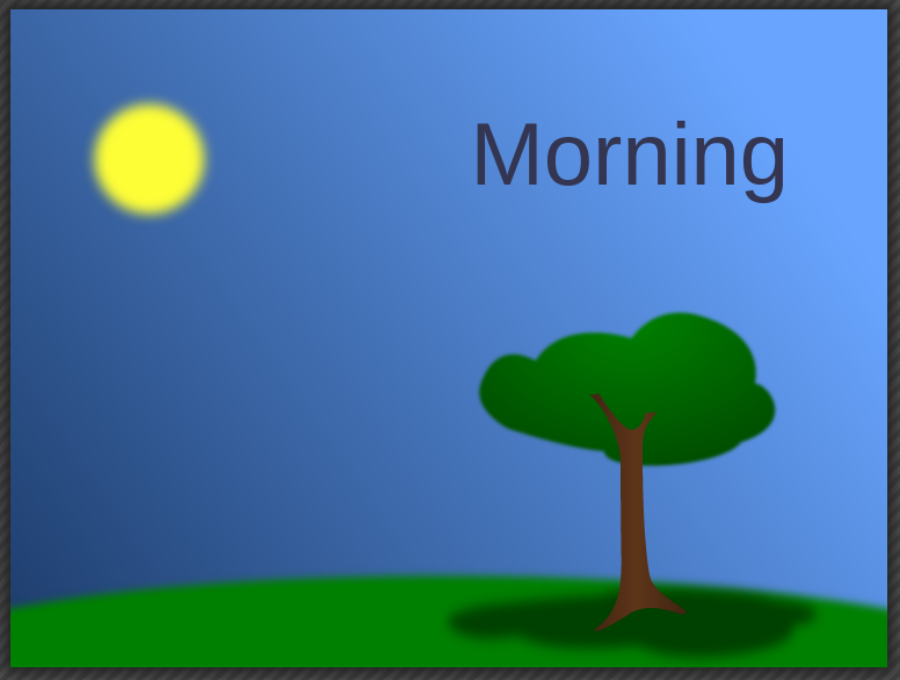
The camera is automatically set to the first frame of the presentation.
Click inside the browser window to move to the next frame.
(see also: Play).
Download the full presentation (Right-click on the link and choose Save link target as).